


Here you will find some of the most frequently asked Questions and Answers, if your question is not answered here, please contact our customer services team and we will be happy to help answer all questions.
Do you offer wholesale/bulk discounts?
We offer select customers an exclusive bulk discounts in the form of a wholesale account. These are available for companies, online stores, Etsy sellers, charities, and educational establishments that have a history of ordering from us.
If you'd like to open a wholesale account with us please visit this page.
My wholesale discount hasn't been applied:
If you have a wholesale account please ensure that the correct prices and discount is applied to your order prior to completing payment. We are not able to retroactivley apply wholesale pricing to orders once they have been placed.
The Basics:
Q: What safety precautions do I need to take?
A: Creating mosaics calls for fundamental working safety methods: You should always wear eye protection when cutting mosaic products or mixing grout. Always bear in mind that mosaic products are frequently sharp. You should keep all your products out of reach of children. A dust mask should be worn when mixing grout. Grout can be an irritable product when in contact with skin; you should therefore wear suitable gloves.
Q: How do I start mosaicing right now?
A: For an interior project which will not be in contact with moisture, it is really straightforward:
- Draw a basic outline of your chosen design on the front of your chosen base. These can be copied from a preferred design or taken from a book or an internet source.
- Determine the size of the tiles which you will require depending on the level of intricacy of your chosen design. You should always start by laying a few of the tiles together in order to ensure that the colours look right when combined.
- Glue the tiles to your support one at a time with adhesive whilst ensuring that you gaps remain consistent and do not exceed approximately 2-3mm.
- Once the glue has set for around 24hrs, the whole project can be grouted.
More complicated designs may require the use of fibre glass mesh; this can be used by laying the mesh over the chosen design with clear plastic in between and gluing the tiles ones by ones according to the design visible under the mesh. The whole mesh and tiles can then be stuck to the support in one operation using adhesive or cementitious grout.
Outdoor projects or mosaics which will be exposed to moisture will require the use of a sealant on the back and sides of the wooden base to ensure a longer life span.
Grouts:
Q: How do you grout a mosaic?
A: Ensure all tiles are firmly stuck down to its base. Mix your grout according to the product instructions, its consistency should be the same as extra thick double cream. Fill the gaps of your mosaic using either a grout spreader or your gloved hands, remove the excess grout and allow to start drying. After a few minutes you can begin to clean with a dry cloth. When the grout is almost dry, use a lightly dampened cloth. Do not use very wet clothes as this will add excess water to the grout. Continue until the grout is removed from the top of all the tiles. When dry, vinegar can be used to polish the surface of the mosaic.
Q: Once my mosaic was grouted, some glue showed up, what went wrong?
A: Most glue will be removed during the grouting process, any excess glue can be easily picked off when the mosaic is damp.
Q: I grouted my stone mosaic and now all the stones are stained by the grout. Can this be fixed?
A: It is extremely important to seal stones, marble and porcelain tiles with a grout and tile sealant prior to grouting. This is due to the fact that these materials are all porous and therefore will absorb the grout pigments. If you wish to enhance the colour of stone or mosaic.
Q: How much grout do I need for my mosaic?
A: Three factors will affect the quantity of grout you will require.
- The area of the mosaic
- The thickness of the tiles
- The gaps between the tiles
As a general rule, 500 grams of grout should be sufficient to cover a 1m² mosaic project. This is however assuming that your tiles are no thicker than 6mm and your tiles are well spaced with no gaps larger than 3mm. You may to consider using a plastic sheet under your mosaic to catch any grout which may fall of the edge.
Q: What colour grout should I use in my mosaic?
A: The colour which you choose to use is entirely down to preference. It is a good rule of thumb however to use a grout colour which will contrast the tile colour. The last thing you want is for your tiles to blend into the background after having put hours of work into creating your mosaic. It could be advisable to create a sample board using off-cut tiles to test a few grout colours before applying to your mosaic.
Q: Do I need grout with sand in it?
A: This is only the case if the gaps between your tiles are greater than 4mm. The sand will reinforce the grout and prevent it from cracking.
Q: My grout started cracking and crumbled. What did I do wrong?
A: Grout will crack and crumble if it is allowed to dry too quickly. This will happen in very hot temperatures or very dry times of year. To avoid this happening, lightly mist the grout with a spray bottle every so often until it has fully cured. Also be sure to mix the grout according to the manufacturer’s instructions to ensure the best mix, if your mixture is too thin cracking is more likely to occur.
Adhesives:
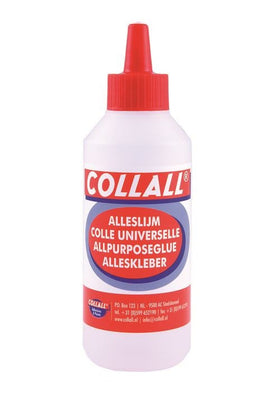
Q: What is the best glue to use indoors?
A: Although there is no specific glue which is best for indoor mosaics, it really depends on the type of tiles you are using and the support they will be fixed to. We recommend using the Collal universal glue for most indoor applications unless children will be participating in which case, the non-toxic PVA version would be more suitable.
Q: What's the best glue for rounded tiles?
A: Tiles with an uneven base need to be embedded into a mosaic to secure them in place. Two adhesives can achieve this, silicone for smaller projects and a cement-based adhesive for larger, heavier projects.
Q: Which is the best adhesive for outdoor use?
A: Although the Collal adhesives are perfectly suitable for outdoor use, we would recommend a cement-based adhesive such as Mapei Mosaic Adhesive or Mapei Keraquick Rapid Set, these types of adhesives are more likely to resist weathering on a long term basis.
Q: How do I install a mosaic onto a wall?
A: The best way to install a mosaic design to a wall is using Fibre Glass Mesh. You will need to glue your tiles individually to the mesh whilst it is laid flat on your table (do make sure to cover your table with plastic beforehand). The easiest way to handle the tiles and mesh is to cut them down into 30x30cm sections. The Collal glue can be used sparingly to glue the tiles to the mesh.
Once the glue has fully dried, the sheets can be fixed to the wall using a cement-based adhesive. Once this has cured, the whole design can be grouted and cleaned up.
Bases:
Q: Can I mosaic on wood or plywood?
A: These manmade boards are a perfect base for most mosaic projects although if these are going to be used outdoors or in especially damp areas, you will need to ensure that they are treated adequately beforehand. The boards can be treated with various varnishes or paints but we recommend yacht varnish as this will provide the best longlasting protection and thus avoid any damage to you piece.
Q: Can I mosaic wooden furniture for outdoors?
A: This can indeed be done but much care needs to be taken to ensure that all your efforts do not fall apart one year down the line. Wood is a material which is ‘alive’ and therefore needs to be thoroughly treated beforehand. We recommend at least three or four coats of yacht varnish in order seal the wood properly. Nowadays, it is rather easy to find metal outdoor furniture which you want to consider as the easier option.
Q: Can I mosaic directly on the brick outside of a building?
A: Setting mosaics onto brickwork is no problem at all as long as the brick is not crumbling, if this is the case, you may need to use a wire brush to remove any loose material. When gluing to such an even surface, you may want to use Fibre glass mesh in order to make the whole gluing process easier.
Q: Can I mosaic on my glass table top?
A: It is of course possible to do so but the weight of the final piece must be considered to avoid creating a safety risk. The glass can usually easily be replaced with a wooden substitute.
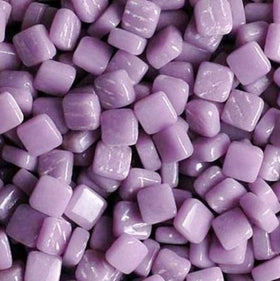
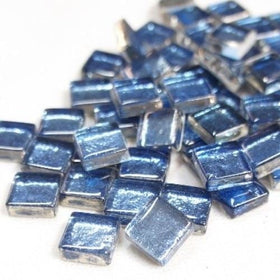
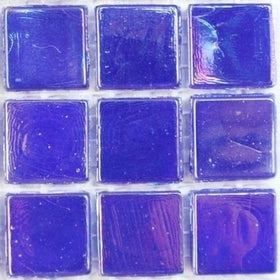
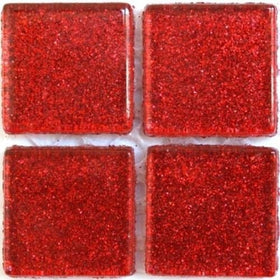
Tiles:
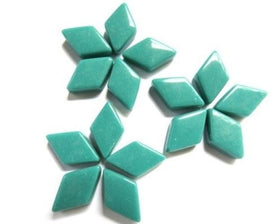
Q: How do I use materials of different thicknesses in a mosaic?
A: Mosaic can be equally a textural piece of work as well as a visual one. If you are specifically after a flat surface you can use the indirect technique.
Do make sure to wear protective gloves and have a damp rag available to wipe off any excess cement which rises to the top.
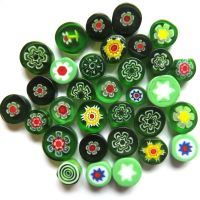
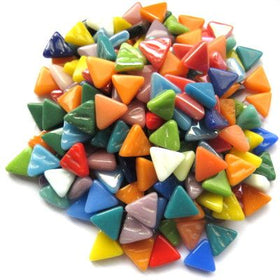
Q: Can I use stone and glass mosaic tile together?
A: There is no reason why these materials cannot be used together, due make sure however that either the thicknesses are the same, or you sink your thicker tiles deeper into the adhesive to ensure a flat surface which will make grouting much easier and make the whole mosaic more appealing to the eye.
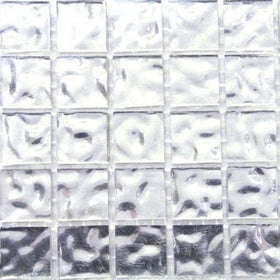
Q: How many tiles do I need to cover my table or floor?
A: We always try to give approximate area coverage in the tiles description but as a general rule, a 30x30cm area can be covered using 225 20mm tiles or 841 10mm tile.
Q: Will my sheet of tiles arrive as a big complete sheet or multiple smaller sheets?
A: Where possible we will always try and dispatch our sheets of tiles in complete sheets however depending on the batch there may be some occasions where tiles are shipped loose in bags or in smaller strips/sheets. Please be assured you always receive the correct amount/weight. If you have a specific preference please do contact us (info@hobby-island.co.uk) and we will do our best to help you out.
Cutting:
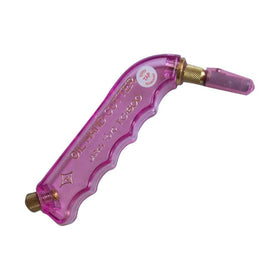
Q: How do I cut glass and glass mosaic tile?
A: As a general rule when cutting glass, the wheeled glass nippers are the best all-around tool. Tile nippers will work on most vitreous tiles but you may find that it crushes other weaker glass.
Q: Can I cut glass mosaic tile with a tile nipper?
A: It is possible to cut glass tile with a mini nipper however wheeled nippers will work best as they do not crush the glass.
Q: How can I cut curved shapes?
A: Curves can be achieved through fixing small pieces together to form one although if the tile is big enough, you can chip away at it with cutters to try and achieve a curve.
Q: What tool do I need to cut porcelain and ceramic?
A: Tile nippers or sidebiters will work best for these materials.